Introduction
This guide is written for the most important stage in your rose’s care: the first few weeks after shipping and transplanting.
During this time, your rose is adjusting to a new environment and beginning to establish its roots. When this early stage is handled well, the plant has a much stronger foundation for healthy growth, fuller branching, and beautiful blooms in the seasons ahead.
Quick Start (the three essentials)
For the first 2–3 months, your rose needs three things most:
-
Plant it in a pot first, and keep it outdoors in full sun.
-
Water generously and consistently while it establishes.
- Do not add fertilizer, compost, manure, or soil amendments at the beginning.
Unboxing & First Day Care
Your rose has been traveling, so give it a gentle, steady transition when it arrives.
-
Unbox your rose promptly.
Remove it from the box as soon as possible and keep it out of direct heat.
-
Check the soil moisture.
If the soil feels dry, water thoroughly until the root area is evenly moist.
-
Rehydrate if needed.
If your rose looks stressed from transit, such as slightly droopy, wilted, or yellowing, soak the roots in a bucket of water for 4–6 hours before potting.
A little transit stress is normal. With water, fresh air, and proper potting, most roses begin to recover quickly.
Dormancy & Seasonal Arrival
Depending on the season and the temperatures during transit, your rose may arrive with minimal foliage. In cooler months, it may look partly or fully dormant. This is normal. Dormancy simply means the rose is conserving energy until conditions are right for new growth.
Keep your rose outdoors, water as needed, and give it time to adjust. As temperatures warm and the plant settles in, you should begin to see buds swell, fresh shoots emerge, and new growth develop.
1) Location: sunlight, spacing, and airflow

Roses need outdoor sun, open space, and good airflow to grow well.
Choose a location that receives at least 6–8 hours of direct sunlight each day. Plant your rose at least 3 feet away from other roses, shrubs, or large plants so it has room to breathe and grow.
Roses are not indoor plants. Even near a bright window or under supplemental lighting, they usually will not receive the light, airflow, and outdoor conditions they need to thrive.
2) Soil & containers: drainage first, richness later

A newly transplanted rose needs oxygen around its roots, so start with a clean, simple, well-draining setup.
Before planting, use soil or potting mix that drains well and does not contain added fertilizer, compost, manure, or heavy organic amendments. Rich soil may sound helpful, but it can be too strong for newly transplanted roots.
If planting in a pot, make sure the container has drainage holes so excess water can flow freely from the bottom. Avoid letting the pot sit in standing water.
3) Planting: pot-first is often best

For newly shipped roses, planting in a pot first often gives the best results. A container allows you to control moisture, drainage, and soil conditions while the rose settles in. After 2–3 months of steady growth, you can move it into the ground if desired.
When planting in a pot, choose a container with good drainage and use a simple, well-draining potting mix without added fertilizer, compost, or manure.
When you are ready to plant in the ground, dig a hole large enough to comfortably fit the root system. Place the root ball in the hole so the base of the plant sits level with the surrounding soil. Backfill gently, then water very thoroughly to help the soil settle around the roots.
4) Watering: the secret to a confident start

Watering is one of the most important parts of helping your rose settle in. During the first few weeks, keep the soil consistently moist but never soggy. The goal is steady moisture around the roots without letting the plant sit in water.
For the first 2–3 weeks, check the soil often:
In cooler weather:
Water thoroughly at least once a day, or whenever the top layer of soil begins to feel dry.
In warmer weather, especially above 70°F:
Your rose may need water 2–3 times a day, especially if it is in a pot, in full sun, or exposed to wind.
Once your rose has adjusted and begins showing steady new growth, you can gradually water less often based on the weather, pot size, and how quickly the soil dries.
5) Fertilizer: why waiting is the kindest thing you can do

It is natural to want to feed a new rose right away, but newly transplanted roots are tender. Fertilizer, compost, manure, and rich soil amendments can be too strong at this stage and may burn young roots instead of helping them grow.
For the first few months, please keep things simple. Do not add fertilizer, compost, manure, or any product that may contain excessive salts or strong organic matter.
In our experience, feeding too soon is one of the most common reasons newly transplanted roses struggle or fail.
Why this matters for own-root roses
Own-root roses are grown on their own natural roots. This gives them excellent long-term potential, but their root systems can be more delicate during the early establishment stage compared with many grafted roses grown on vigorous rootstock.
At this stage, your rose needs time to focus on root growth. Waiting to fertilize gives the roots a safer, gentler start.
When to begin feeding
Please wait until your rose has shown 2–3 months of stable growth before adding fertilizer, compost, manure, or other soil amendments. Once the plant is well established, you can begin feeding gradually.
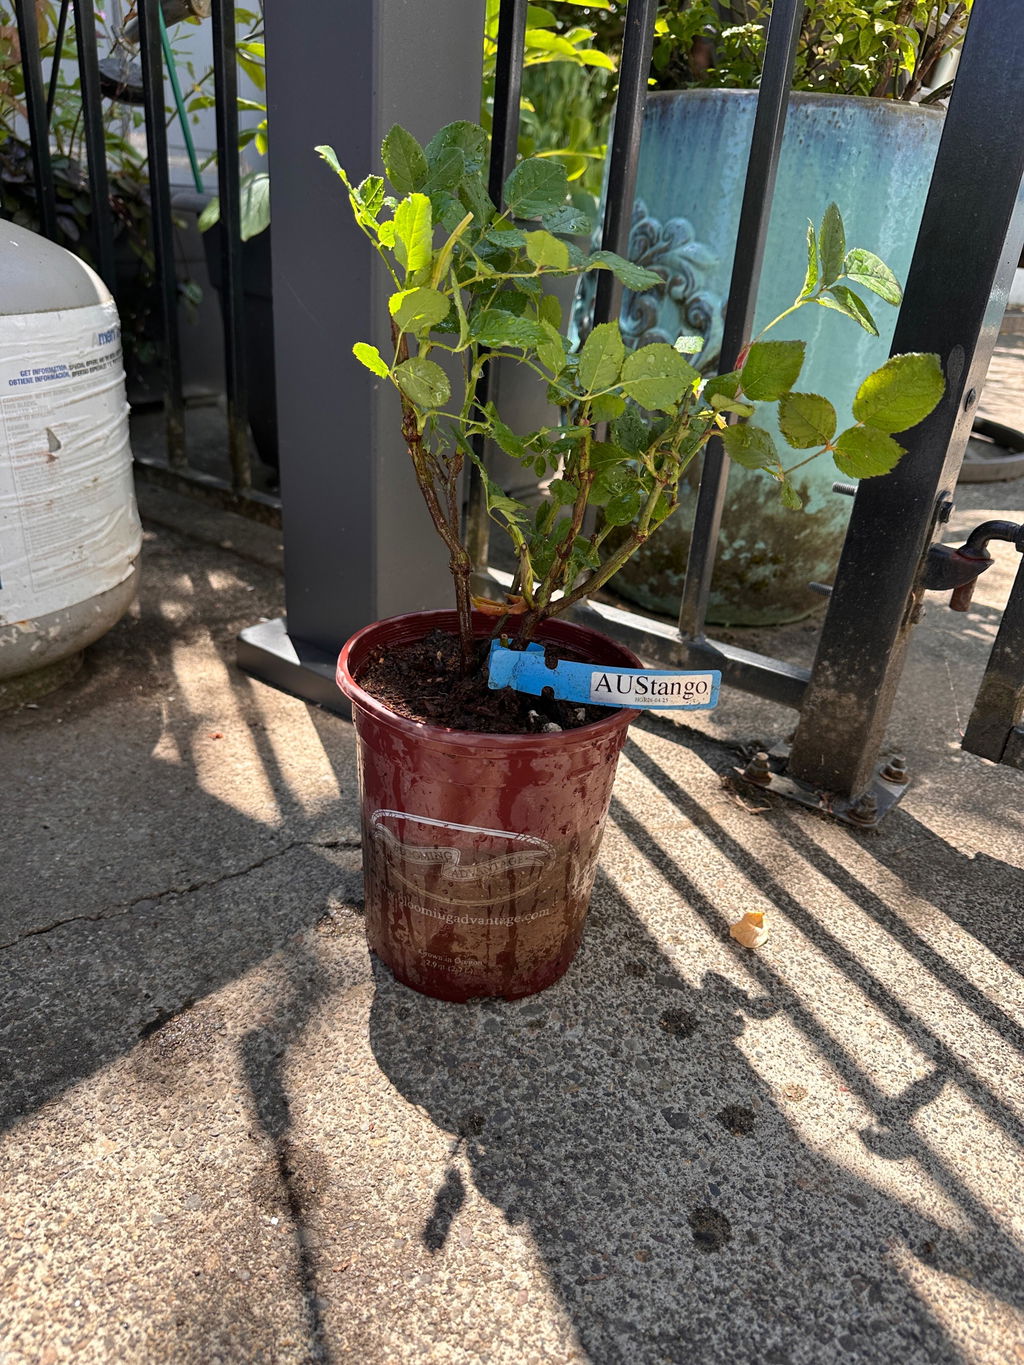
6) Why does my rose look smaller than expected?

This is one of the most common questions, especially with newly shipped own-root roses.
Own-root roses often start smaller than grafted roses, but they are grown for long-term strength. In the beginning, they focus on establishing their own root system. Once settled, they gradually build fuller growth, stronger branching, and a more mature shape season after season.
Size also depends on the plant size you selected. Smaller roses, especially band-size roses, will naturally look petite at first. They are young plants with room to grow, and their size at arrival is only the beginning.
Shipping, pruning, and transplanting can also make a rose look quieter for a short time. This does not mean the plant is weak. As it adjusts to its new home, you may begin to see swelling buds, fresh breaks, and new branching.
With patience and proper care, your rose will grow into a stronger, more established plant that becomes a lasting part of your garden.
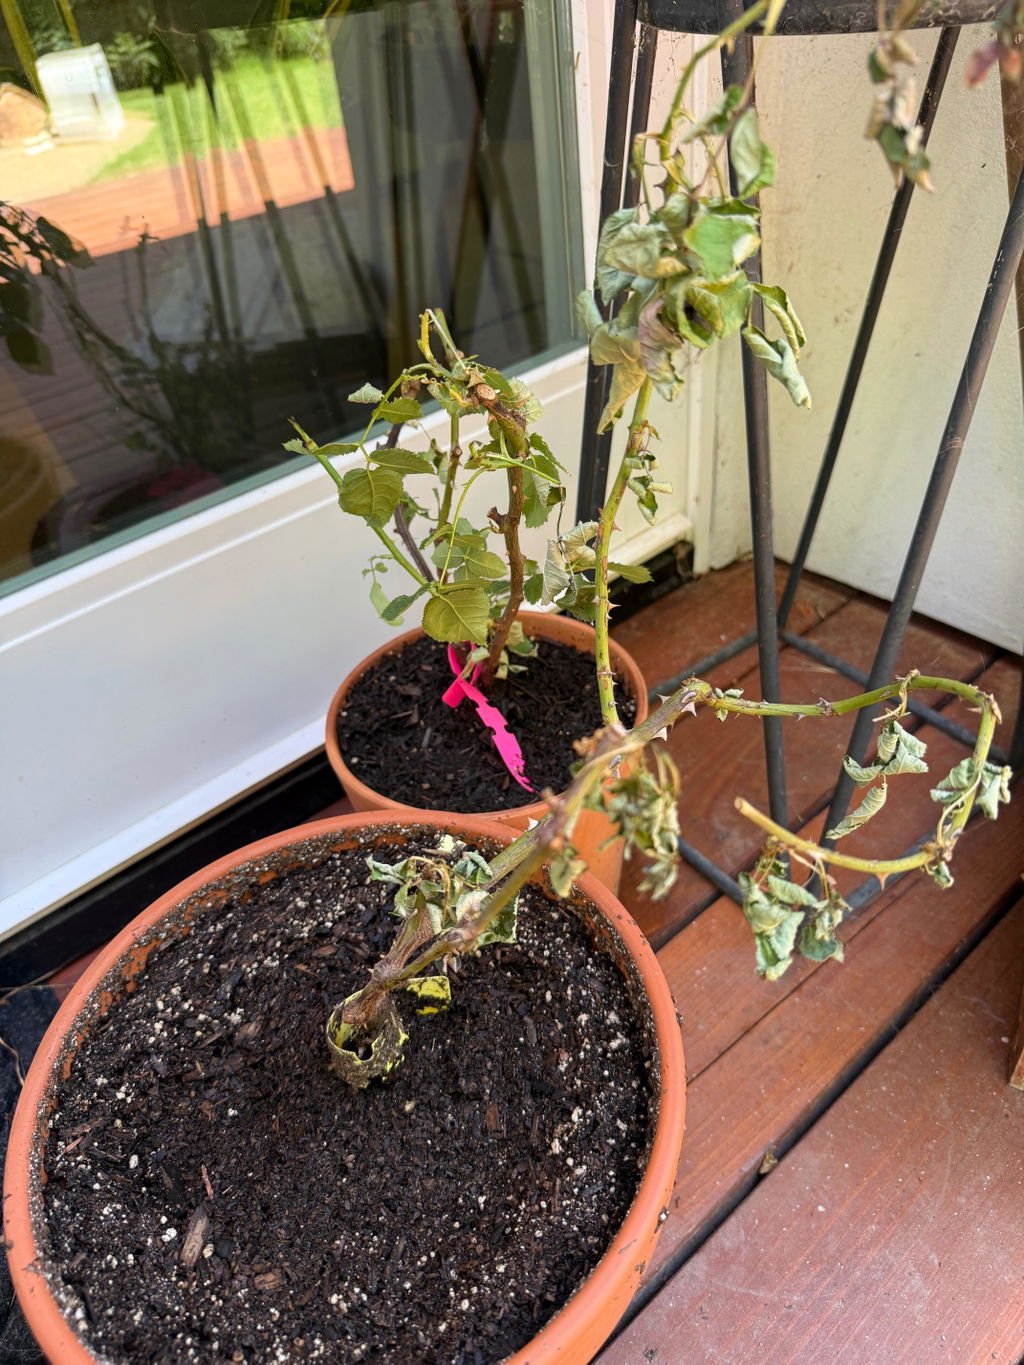
7) Cane dieback: what to do if the tips turn black

If you notice the tops of the canes turning black after planting, do not panic. This is called cane dieback, and it can happen after shipping, transplanting, or weather stress. Some rose varieties are also more prone to it than others.
Please do not cut the rose back right away. Give the plant time to stabilize. In many cases, the dieback will stop at the next point of active growth.
Continue watering consistently and keep the rose outdoors in full sun. As the roots settle in, you may see new buds — often pink or reddish — begin to swell lower on the stems.
Do not stop watering or dig up your rose too soon. Even if the top canes look damaged or partly dead, the rose can still recover as long as the roots are alive. Patience is important during this stage.
8) First blooms may look different than photos

Your rose’s first blooms are often part of the settling-in process. They may be smaller, lighter in color, or slightly different in shape than the photos you have seen.
This is normal. A newly transplanted rose is still adjusting to its new environment, and early blooms do not always show the variety at its best.
Some varieties may produce simpler, single, or semi-double blooms at first, then develop their fuller, more characteristic form as the plant matures.
Season also makes a difference. Summer blooms are often lighter in color and more open or shallow in form, while spring and fall blooms usually show richer color and better shape. With time, stable growth, and cooler blooming cycles, your rose should begin to express its true character more fully.
9) The rose timeline: sleep, creep, leap

A beautiful rose garden takes patience. Many roses follow the classic garden rhythm: sleep, creep, leap.
In the first year, your rose may focus mostly on settling in and building roots. In the second year, it often begins to grow with more confidence. By the third year, many roses start to show their true strength, shape, and blooming potential.
We recommend giving your rose at least three years in the same spot before making a final judgment about the variety. With steady care, sunlight, water, and patience, a young rose can mature into a strong garden plant that rewards you with abundant blooms season after season.
Cultivate Joy
Over the coming weeks, your rose will begin settling into its new home. At first, much of its energy will go into establishing strong roots, so visible growth may feel gradual. You may notice swelling buds, fresh shoots, or new branching as the plant adjusts.
Our roses are grown for lasting beauty in the garden, not merely for an impressive first impression, so this early stage requires a little patience. With time and proper care, your rose will develop stronger growth, a fuller shape, and blooms that become more expressive and true to the variety as the plant matures.
We hope this guide helps you care for your rose with confidence and create a garden filled with beauty, fragrance, and joy. If you have any questions, please feel free to reach out.